ALite CMS is a user-friendly and easily expandable content management system with a great number of performance capabilities, allowing to manage any content.
The system is built basing on modular concept. The main part of the modules is independent, what permits to make up the system according to tasks of any specific project. The user can enable completely independent extensions and the ones using all available variable, constants, classes and functions of the system.
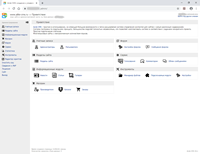
Administration interface allows the user to change dynamic data fast and easy as well as structure of the site sections and pages. Allocation of administrator responsibilities based on administrator groups helps to optimize maintenance and content filling of the site.
Page builder is an interactive tool for web-page constructing in Alite CMS. It uses php-templates of the system to output data. It's built using a web-interface and Ajax technology. The user doesn't need any additional software. The page builder is compatible with such browsers like Internet Explorer, Mozilla Firefox, Opera, Chrome.
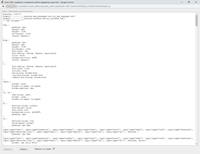
Built-in editor allows you to modify the scripts and text files directly from the administrative part of the site.
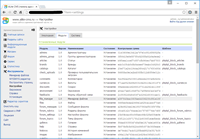
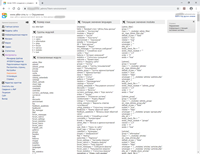
Module "Environment" displays up-to-date information about modules, constants, variables, language resources, the size of the used cache, etc.